


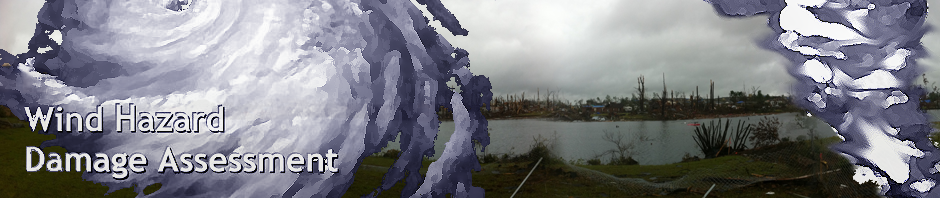


When on damage assessment it is important to take pictures along transect of effected neighborhoods from areas showing no damage till reaching opposite end of transect where there is no damage, with damaged regions in between, to obtain anchor points.
Region outline in black dashed line represents a transect of a damaged neighborhood
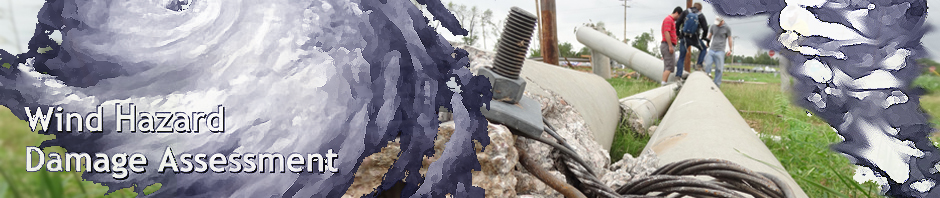
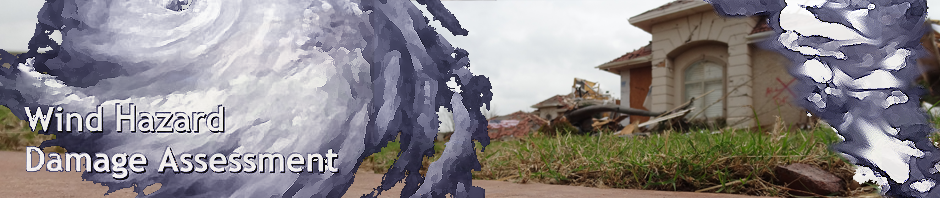
Take general overview picture of home, and then focus on any additional details exposing failure modes and other points of interest. It is good practice to download images onto laptop after each day.
A few photo tips provided by National Geographic’s:
 After you’ve made the image you have in mind, walk or drive closer to the subject and try again. Proximity will make the subject strike you in a different way.
 When your subject is of indeterminate size add a sense of scale by including something of known size or known measurement, such as a person, a car, a tree, or a ruler and measuring tape. This helps viewers understand what they’re looking at.
 Take time to explore. Wander around and get a sense of the place. It will take time and patience to discover the best way to show what makes it unique.
 Be aware of surrounding. Avoid or remove any distracting or extraneous objects from background or foreground of you shot.
 Get out (to shoot) before sunrise and stay out after sunset—the times when the light is best.
 Find leading lines. Landscapes are full of linear elements. Use these lines to lead the eye into your picture. Leading lines are most effective as diagonals.
These notes have been compiled from National Geographic’s website and adjusted for our purposes.